Photoshop One-on-One: Advanced

I have continued the training courses from Deke. I began chapter two of the trilogy, the Advanced training course. In the first sections we cover color range and focus area in detail. Working one one on one we created a pretty cool looking composition of a plane. We used lots of great effects with layers blending options, bushes and blurbs effects.

Images used:

The Finished product:


Photoshop CC 2015 One-on-One: Fundamentals

I did it!!! wow.. that was a lot of things to learn at the end with printing from photoshop and save for web. I have learned to stay away from the "quick export" feature which i was using a lot. I am ready to continue to the advance section.

Image retouching

This section of the training contained some vigorous work using healing, spot healing, burn, blur, layer blending and masking to bring the image from point A to B.  There are a lot of things that can be accomplished in photoshop, however, the most important tool is common sense. By this i mean having the ability to know when you have gone to far, and knowing the different between cleaning up a photograph, and removing the character features that makes us unique and special. 

Before

After:

Layer stack:

Quick mask mode

This section of the training proved to be challenging. Using the quick mask mode in photoshop can become complex when trying to select sections of the image using the channels layer. It requires a good understanding of the correct channel, inverting the selection and gray scales. It took me a couple of times of watching the videos again and again to fully understand what i was doing and why. But at the end, the reward was there. :)

Images in exercise:

The finished piece:

Making selections

In this portion of my training, Deke introduced a lot of powerful tools using photoshop CC 2015. Layers with overlays, gradients, color fills, masking of layers and more blending effects are also in use.  I am not a fan of the magnetic lasso tool, i find the quick selection tool to be easier to use for selecting the man walking on the sand. 

The final product:

Balancing Color

In chapter 8 of my training, i have learned several techniques for correcting and adjusting colors using Camera Raw, and non destructive adjustment layers. The techniques covered are so powerful that you can generate color where there was none like seen in the samples below.

Before:

After:

Brightness and Contrast

In this section of the training. I was introduced to using the Auto commands for photo adjustments, these include: Auto Tone, Color, and contrast. these commands are very powerful for a basic adjustment of an image.

Before

After

Before

After

Adobe CC one on one training with Deke McClelland

I have decided to improve and sharpen my skills with the monster that is Adobe Photoshop CC. I have begun my training with the 14hr fundamentals training with Deke McClelland.  This training is part of a 3 part series that promises to teach you more about Photoshop that anybody you know.


As a designer you fall victim or staying within your safety zone of what you know how to do quickly in order to meet your deadlines. However, I am looking to go outside what I know I can do and find new ways of doing things, while improving my skills. 


I will post screenshots of the project I completed while following Deke directions in order to show my progress.  This is the image we created after completing Chapter 5: Introducing Layers. I will admit that I have learn a ton up to this point and I look forward to what future lessons will teach me.   In this section we worked with layers, exploring blending modes, masking and brushes to create a Pegasus.

Vector flowers

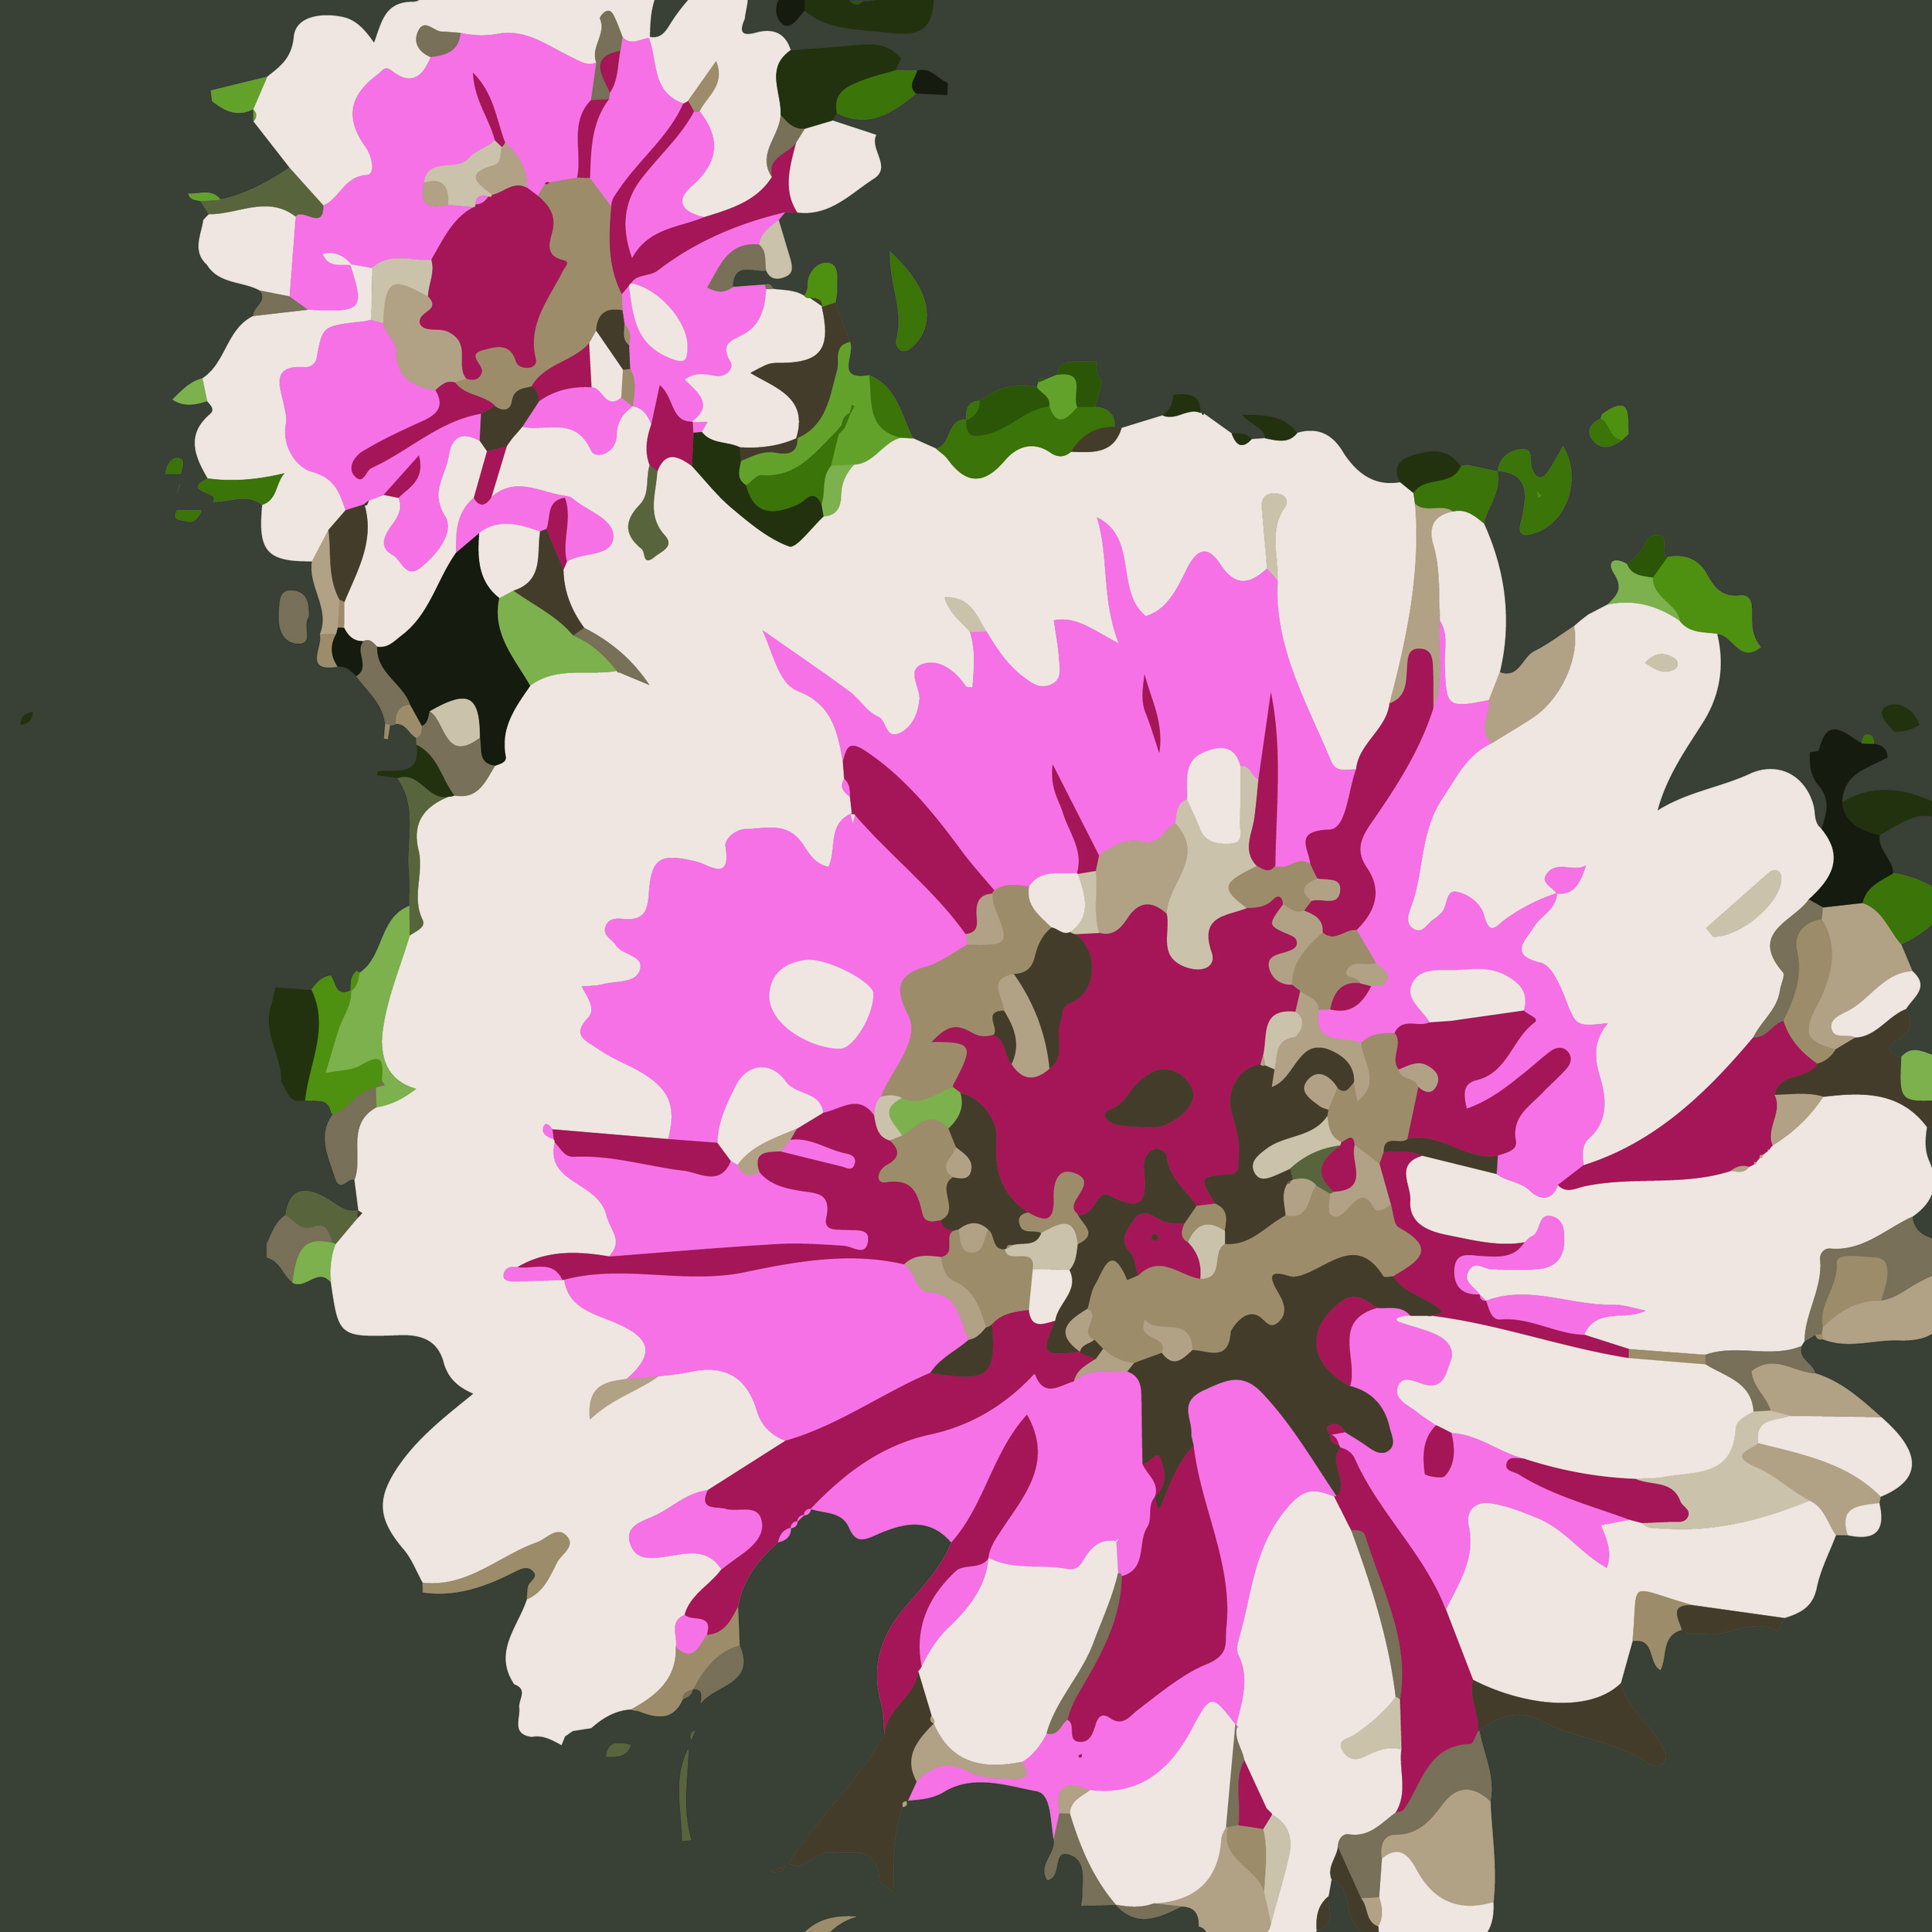
Yesterday we spent the day at the Brooklyn Botanical Garden. I took a couple of photos with the intension of taking them into illustrator and playing around with the live trace features. 

I started using illustrator back in CS3 when it was first released, and seen how this tool has grown and its capabilities is amazing. It does help to have a fas processor to speed up the process, specially if you want to sit there for a bit and customize the trace like i did in the graphics below.  Very quick way to achieve some great looking compositions that could be used for prints.